A Guide To Optimizing Your Images For Social Media & Your Website

Looking to amplify your message through visuals?
Your visual content has the power to resonate deeply but to truly unlock the power of your visual marketing you must know how to create, optimise, and source images that connect and communicate.
In this post, I’ll share tips to help you:
Create aesthetically pleasing and meaningful visuals
Select the right image format and size for various platforms
Optimise alt text
Understand copyright ethics, and
Learn best practices for sourcing and attributing images.
Whether you're a budding solopreneur or a seasoned one looking to enhance your social media presence, this guide will give you the knowledge and tools to help make your visual content engaging, effective and meaningful to you and your audience.
Pin for later

Design techniques for creating visually appealing graphics that align with your brand
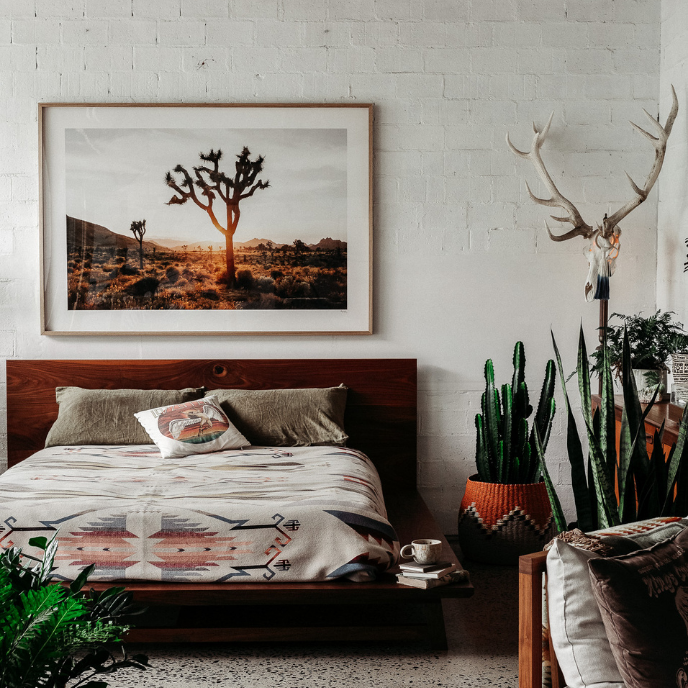
Photography can set the tone for your visual content and depending on how you crop or place a photo, it can change your viewer’s focus and mood. Images have a significant impact on the overall vibe and energy of your design.
Take this example by one of my Visual Marketing for Beginners course students, Nadia Charles. In her original ebook cover design (left), the design is clear and legible, but also flat and much less engaging than the e-book cover design she recreated on the right using an image that helps communicate her message and resonate with her audience.

It’s not just her choice of image that makes this ebook cover much more engaging, but the composition—how she placed and cropped it matters too.
The image depicts a woman who’s troubled and needs emotional support. As a viewer, we’re drawn into the story and feel a connection as opposed to the ebook cover without a photo because we’ve been given more information.
Photos do more than just elevate your designs—they have the power to inspire your audience in a way that some words can’t.
7 Tips and Techniques For Working With Images In Your Visual Content
1. Keep them consistent in colour/saturation/tint, etc. (try applying 1-2 of the same filters or make the same photo adjustments like increasing or decreasing brightness, contrast or changing the temperature).
2. Pick relevant pictures that convey your message and your brand (the photos you choose don’t need to be literal).

3. Use top-down photography to find compelling ways to place text and use the whitespace inside a photo (keywords: flat lay or mock-up).

4. Try changing a full-colour photo to black and white to increase the intensity and give it a more dramatic effect. Or if you have an image that you want to use but the colours don’t reflect your style or business’ essence, change it to B&W to make it work with the rest of your colours.

5. Add colour overlays that harmonize with your brand colours or increase contrast. Not sure how to create a colour overlay? Watch this tutorial to create this effect in Canva.

6. Experiment with cropping to zoom in on your subject to change the viewer’s focus and make an average photo pop or to give an overused stock image a new look and feel.
7. Apply the principle of proximity to group photos together in a layout. When you scatter photos throughout a layout, it disrupts the focus of the reader as they’re reading.

Where to find high-quality, royalty-free images for social media and your website.
Unsplash (free & paid)
Canva (free/paid)
Stocksy (paid)
Moyo Studio high-quality mock-ups (aff. link)
Inspired Stock Shop stock for spiritual entrepreneurs (aff. link)
Best Practices for image naming and optimizing your images for SEO
When it comes to image naming and optimizing for SEO on your website, here are some best practices to consider:
Use descriptive filenames: Choose filenames that accurately describe the image and its content. Incorporate relevant keywords related to the image and the surrounding content. For example, instead of using a generic filename like "IMG_1234.jpg," use something descriptive like "solopreneur-working-on-laptop.jpg"
Keep it concise: While descriptive filenames are important, try to keep them relatively short and concise. Avoid using long strings of keywords or unnecessary characters. Aim for clarity and readability.
Use hyphens as separators: When separating words in your filenames, use hyphens (-) rather than underscores (_) or spaces. Search engines interpret hyphens as word separators, making it easier for them to understand the individual words within the filename.
Prioritize relevant keywords: Incorporate relevant keywords into your image filenames, but do so naturally. Avoid keyword stuffing or over-optimization, as it can be seen as spammy by search engines.
Use alt text: Alt text (alternative text) provides a description of an image for those who cannot see it, such as visually impaired users and search engine crawlers. Optimize your alt text by including descriptive keywords that accurately represent the image and its context. Be concise and specific, while ensuring the alt text remains meaningful and useful to users.
Compress and optimize image file size: Large image file sizes can negatively impact website loading speed, which is a crucial SEO factor. Use image compression tools to reduce file sizes without compromising image quality. Smaller file sizes can result in faster loading times, improved user experience, and better search engine rankings.
Choose the appropriate image format: Select the right image format based on the type of image and its purpose. Use JPEG for photos or complex images with many colours and PNG for images with transparency or simple graphics.
Use a responsive design: Ensure your website and images are responsive and adapt well to different screen sizes and devices. Responsive design enhances user experience and SEO performance by providing a seamless browsing experience across desktop and mobile devices.
Remember, while optimizing image elements on your website is important for SEO, it's equally crucial to prioritize user experience and the overall relevance of the images to the content they accompany. Strive for a balance between optimization and delivering a visually appealing and engaging experience for your website visitors.
JPG vs PNG and when to use both
jpg
Quality is compromised
Typically use on websites as the smaller file size makes them quicker to load
For web-based images/headers/headshots, etc.
Use Tinyjpg to compress your images even further (I try to compress my images to 50 KB or less for websites)
png
Highest-quality image file type
Use when you need a transparent background (logo, type, graphic elements, icons, etc.)
Use when file size isn't an issue, or you have a detailed image/graphic, and you don't want to sacrifice quality
Great for print or high-quality images like a book cover, etc.
Copyright guidelines:
The onus is on you to make sure you:
Read the license agreement to make sure it's Licensed for Commercial Use
Check to make sure you can modify the image
Credit the photographer/artist if required.
By following these guidelines and embracing the power of optimizing your images for social media and your website, you can elevate your visual content, enhance your online visibility, and make a meaningful connection with your audience.
Leave a comment below to let me know if these insights helped and which ones you’d like to implement.
And if you’d like to learn how to create visually appealing graphics for social media, your website, marketing materials and beyond, I’d love to see you in my course, Visual Marketing for Beginners for solopreneurs who are worried about their visual content is detracting from their message rather than supporting it.
Love, K. x